
The playroom used to be a workout room - complete with gross, stinky, moldy all-weather carpet. Here's a few pics that I snapped during our home inspection -


A few pros about this room:
- it has lots of light, owing to the 3 windows in it
- it's located just slightly off of the kitchen, so the girls are most always in earshot when I'm in the kitchen
- it has its own door, which can be closed when the mess is too much to bear
Originally, I had hoped to turn this space into a dream mudroom space, in the spirit of every Pottery Barn catalog I've ever seen, completed with cubbies, and lockers, and hooks galore:
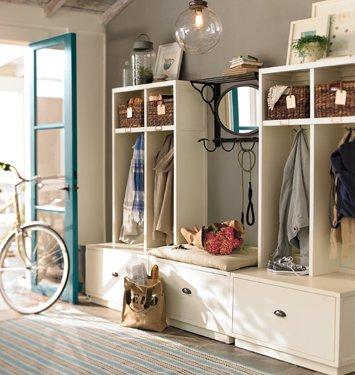
source: Pottery Barn
But I quickly realized that, with 2 small children (or children of any size, really), it was more important to have a central location for all of their STUFF (and by STUFF I mean TOYS). So the mudroom dream got shelved - sort of (I worked out a different mudroom solution that I plan to share in a later post).
My first step in converting this room from a stinky workout room to a fully functional playroom was to rip out the carpet, which left me with this:


Not much of an improvement from the carpet really! At this point I should mention that this room is located between the garage and the mudroom/hallway that connects to the kitchen. It was (appropriately) marketed as a "breezeway" and is not original to the house, but rather was added (along with the garage and mudroom/utility room) in the late 1970s. There is no HVAC running into this room, and the foundation is an (unattractive) concrete slab.
But I digress. Instead of worrying about the concrete floor situation, I stuck with what I knew I could do well, which was painting. With Heidi's help, I picked out a bold wall color (since the room is pretty separate from the rest of the house, I didn't really have to worry about the "flow"). We ended up going with Peacock Feather by Behr:
The trim and the painted brick wall got two coats of bright white off the shelf Behr paint, which made a huge difference. Here are the after painting pics:
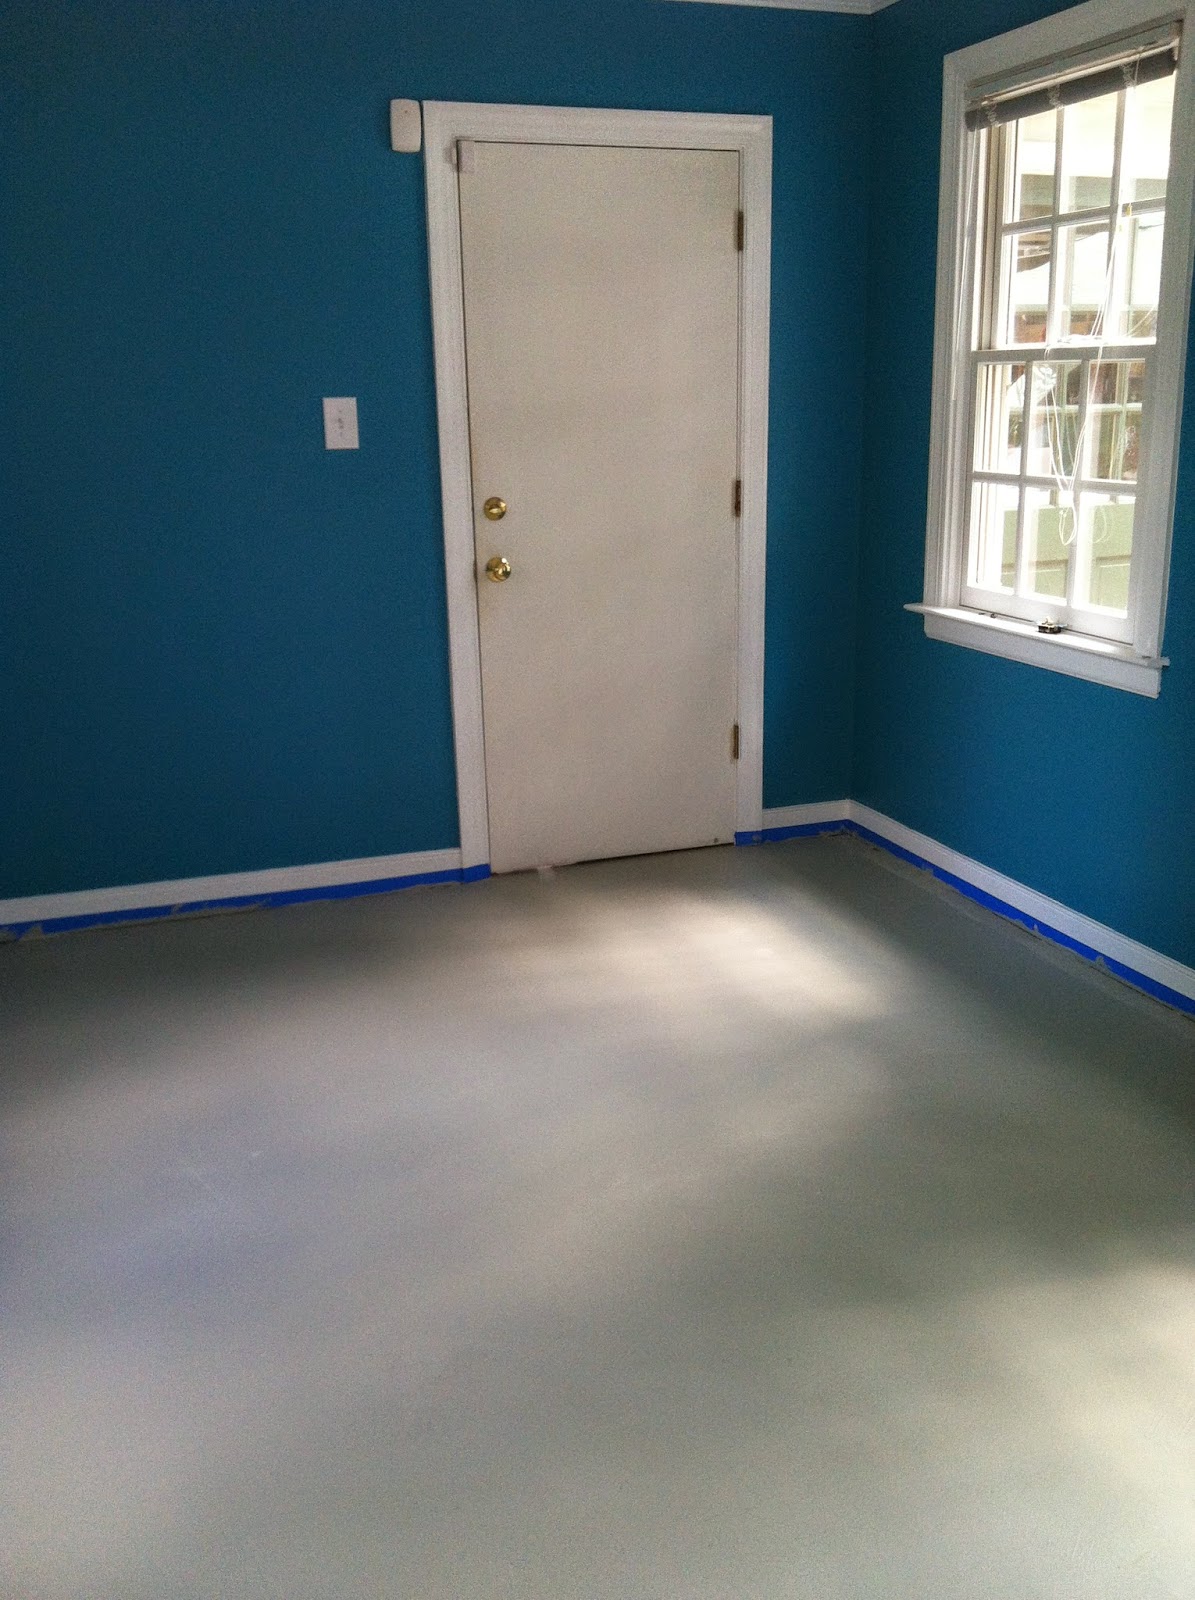

I guess you can tell from these pics also that I opted to paint the concrete floor. The process was pretty simple - I cleaned it really well with TSP (I have the concentrated powder kind that you mix with water), and then gave the floor a couple coats of porch and floor paint.
But of course I couldn't stop there. After doing a little research on the steps involved in stenciling a floor, I decided to give it a go in this room -


And I LOVE the results. I used porch and floor paint as well for the patterned part of the floor, and then coated everything with a low lustre sealer designed specifically for concrete floors (can be found here). It's been about a year and a half, and the floor is holding up perfectly! I especially love how easily crayon and marker scrub up off of it :-).
Finally, it was time for the really fun stuff - adding the toys and decorative elements. I opted to go with yet another Ikea Expedit storage solution for toy storage (you will recall my love for this product line here). Sidenote - apparently they've rebranded this line, and it now goes by the name "Kallax" - no idea why.
I then made some "custom" window treatments out of this awesome fabric I found at the U-Fab outlet:


I neglected to mention this awesome Craigslist score - lockers!! Best storage solution ever- and a pretty awesome magnet board as well.
No comments:
Post a Comment