Tuesday, November 30, 2010

Problem Solved - Getting Melted Wax Out of Candle Holders

A couple of years ago, I "ruined" these candle holders by not promptly dumping out the melted wax after the candles burnt out.  As you would expect, the wax then proceeded to harden, sticking to the glass and rendering the candle holders pretty useless. 


In preparation for Christmas decorating, I decided that it's finally time to either part with these things, or figure out how to bring them "back to life".  So, as is my usual custom, I consulted my source for all things - Google. 

The first result I found suggested putting the candle holders in the freezer for a few minutes, and the wax would "pop right out".  Well, here's what they looked like after a good 5-10 minutes in the freezer -


Not much different - just colder....

The next result I found suggested putting them upside down on a cookie sheet covered in tin foil in the oven with the oven set to its lowest setting - which, incidentally, is 170 degrees for my oven.  I set the kitchen timer to 10 minutes so I didn't forget about them, and after 10 minutes, here was the result:


It worked!  I used a paper towel to wipe out any excess melted wax, and the votive looked good as new!  The second one took a little longer to melt out (close to 20 minutes), but after cleaning them up, I'm happy to report they're now back in working order - just in time for Christmas :-) 


And to think I considered throwing them away!

Monday, November 29, 2010

Before & After: The JUNK Drawer

So I needed a quick 20 minute or so kitchen project while Heidi was eating lunch  yesterday, so I decided to tackle one of our kitchen junk drawers (we have 2 total).  I was sick and tired of the feeling I got every time I went to open this drawer, inwardly groaning to myself.  It had become difficult to find things, and I was also sure that there were at least a few things in the drawer that neither I nor Robb had even missed or looked for the entire time we have lived here. I was right!  But first, here's the "before" drawer pic:


A quick rundown of the items I found in here after examining the contents piece by piece:

  • 5 rolls of packing tape
  • 1 roll of duct tape
  • 1 Olympus 35mm camera (WITH film in it - it took me about 10 minutes to figure out how to wind the film in order to get it out of the camera - it's currently being developed at Target - can't wait to see what's on the roll!)
  • 1 Kodak 2.0 mega pixel digital camera (no, that's not a typo - 2.0 mega pixel) - this was a hand-me- down to Robb from his grandfather several years ago, who is impressively very technologically advanced - he's even on Facebook!)
  • 52 assorted batteries
  • 1 Winnie the Pooh address book (with addresses that I hadn't updated or added to since 1998)
  • Index cards
  • Stamps
  • Envelopes
  • Thank you notes
  • Cigar cutter
  • Tape measure
  • Wind up flashlight
  • Smoke detector (with no batteries)
  • Staples
  • 1 Swingline stapler - BTW, every time I think of a Swingline Stapler, I hear the words "have you seen my stapler?" and see this in my head - does anyone else? But I digress.... 


After examining all of the contents piece by piece in order to determine whether they should even be in the drawer, here are the items which didn't make the cut:

  • Olympus camera
  • Kodak camera
  • Cigar cutter
  • Winnie the Pooh address book
  • Smoke detector
I plan to donate the/recycle the cameras (anyone have any good suggestions for electronics recycling places?), the cigar cutter was relocated to the dining room with the cigars, and the Winnie the Pooh address Book was tossed in the trash (Facebook and Google and smartphones kind of makes address books obsolete these days anyways...).  I'm still trying to remember what I did with the smoke detector...

Here's the "after" pic of the drawer:


A few things I learned during this process:

  1. Battery storage - contrary to popular belief, batteries do NOT need to be stored in the fridge to lengthen their life, rather, it's more important that they be stored with all of the same ends up, and ideally, in their original packaging.  Read more about this here.
  2. For deep drawers like ours, it's a good idea to "layer" items based upon frequency of use - for example, our batteries are sitting on a box which houses spare pens, pencils, and markers, since we don't anticipate needing to access that box as frequently as we anticipate accessing the batteries (especially now that we have a 1 year old in the house!)
  3. Plastic containers of various shapes and sizes are great for helping to corral like items - and don't think that you need to rush out to The Container Store and purchase designer ones for this - the Gladware that your lunchmeat came in would work just fine for this as well (after a good washing, of course!).  The containers I put to use here were collecting dust in my basement - I knew I would find a use for them someday!
  4. You can never have too much packing tape :-)
Ok, now I'm off to find that smoke detector....

Sunday, November 28, 2010

New Sofa!!

I'm so excited!  My hubby finally caved and  agreed to let me purchase a new, smaller sofa for our front living room.  The tradeoff was that for the amount I spent on a new sofa, I had to be able to make up via craigslist or other means (by selling what we didn't need/use anymore for the same price as the new sofa).

Here's a picture of our old sofa in the front living room:

While it looks "ok" in the room, I have always felt that the scale was way off.  The room isn't very big (11x16 ft, with really only about 11x10ft of "usable" space, due to both the front door and the stairs leading up to our second level).  The sofa itself was almost 8 ft. wide and about 4 ft deep, so it took up almost all of the usable space on one of the 4 walls, and really cut in to the room with its 4ft depth.

I realized immediately that, even more important than finding a shorter sofa was finding a sofa that wasn't as deep. I took measurements (as you can see in the pic above) from the wall to the start of the fireplace surround, and got a measurement of 36".  I concluded that I couldn't have a sofa that was more than 35" deep, so that no part of the sofa came out further than the start of the fireplace.

As for length, I kind of estimated that a sofa under 80" would look best in the space, as it would allow for an end table on either side of the sofa.

So, here was option #1 that I considered - I loved the shape and size, but wasn't sure about the "peat" color.  The price was good too (and is even better now, since as I write this, it's been decreased to under $400!).

Here was option #2 - I liked the color of this sofa better, but wasn't as much a fan of the shape.  I also wasn't sure how "velvet microfiber" would hold up to a rambunctious toddler and a cat. The price was also good on this one, and has since also been reduced to around $400.

I eventually settled on this sofa from World Market:


It's the Morgan Sofa in Sand Brown, and, while regularly priced at $599, it was 25% off during the month of November, so I was able to save $150!  So, on a random Monday night, 3 days before Thanksgiving, I loaded Heidi up in the pickup truck, and we made the trek out to the Rockville store (the 4 closer stores I called were all sold out of this particular sofa).  It then needed to be assembled, which I did early one morning before Heidi got up.  Here's how it looks in the room:


I think it's a vast improvement over the old sofa, and I'm really happy with how it looks in the room.  I posted pics of the rest of the room onto HGTV's Rate My Space in order to get suggestions for window coverings and other accessories.  Here's where you can find it - http://www.roomzaar.com/rate-my-space/Living-Rooms/Living-Room---need-ideas/detail.esi?oid=22782855


Stay tuned for the "final product"!


Sunday, November 21, 2010

Craigslist Find #1

So as part of starting this blog, I hope to be able to document great finds I've made at thrift stores, flea markets, yard sales, or on craigslist and how I've turned these finds into something really special. 

Enter exhibit #1 - a pair of brass candlestick lamps:

They came with large round white shades as well, but they weren't worth keeping.  I scored this pair of lamps for $5 - and yes, both lamps are in good working order. My plan is to clean, prime and paint these lamps a bright color (once I figure out what colors I'm doing in my living room), and pair each with a white drum shade to maximize the light output.  I'm also planning on adjusting the "harp" (thats the wire piece that goes over the bulb) size to allow for a shorter shade than was on the lamps previously.  I've been doing research on selecting the right shade here - a great website - but pricy stuff :-(. 

I was curious to see how good of a deal I got, so I let my fingers do the walking via google, and I found these lamps:


Wow - at $140 apiece, that means I saved $275!  I think I'll sleep good tonight :-).

I will update once I've done the big Lamp Makeover Project, but here's a couple pictures of lamps I'm loving right now:

Inspiration #1:


Inspiration #2:


Wish me luck!

Got chalk?

Every since we moved to this house in 2008, I've been toying with the idea of painting a small section of one of the walls in our kitchen with blackboard paint.  You see, I had painted the outside of one of our cabinets at our old house with it (upon the suggestion of a wonderful neighbor :-), and LOVED it.  I was waiting to find the right wall here though.

It dawned on me a couple weeks ago that I couldn't just paint a small section of wall - I needed to find a wall and paint THE WHOLE THING.  This epiphany came when I considered what would happen if Heidi saw Mommy drawing on the wall with chalk, but was told that she couldn't do the same....

So, I found a small wall in one corner of our kitchen that wasn't being utilized, and went for it.  As an added twist, I first painted on several layers of magnetic primer after seeing this used by John and Sherry of Young House Love.  Here's the wall after the first couple coats of magnetic primer (I ultimately used about 5 coats of primer to maximize the "magneticness"):


And here's the wall after the final coat of magnetic primer:


And here's the finished product (I framed it with window/door molding I purchased from Home Depot, and painted the trim with some semi-gloss white paint that I already had purchased for another project):


The magnetic primer works well for those thin floppy fridge magnets, but not really anything more substantial than that.  Not really an issue for us, as the purpose of the magnetic wall was so that Heidi could enjoy playing with our fridge magnets that weren't being used anyway.  The chalkboard itself has proved life-changing - no longer do I have to scrounge around for a scrap of paper to jot down something to remember - I just grab a stick of chalk and write it right on the wall!  I'm sure Heidi will enjoy coloring on the wall as well - once she gets older!  Right now she just tries to chew on the chalk....

As I mentioned, the magnetic wall isn't really strong enough to hold magnets capable of holding multiple pieces of paper, so for organizing bills, coupons, etc., I've been able to put this nifty item back to use:


It's basically a metal grid, which came with those 2 clip on mail holders, 2 pegs/hooks, and a holder for pens/pencils.  I purchase it on clearance from Pottery Barn several years ago for use in our old hallway/office - until now, it was just collecting dust in the basement!  I added those coloful magnets, and a weekly whiteboard calendar, so now we have a "command center"  in our kitchen - and no more piles of mail strewn about the kitchen!

Friday, November 19, 2010

New uses for old frames....

I, like many other home design fanatics, looove Pottery Barn.  I eagerly await the arrival of each new catalog with the excitement of a kid on Christmas morning.  Once it arrives, I love to flip through the pages, not to plot my next purchase (Pottery Barn is pretty much out of our budget at this point), but to find room configurations that I can emulate, furniture styles that I like and can find for less (at IKEA or Walmart, as the case may be), and any other unique design ideas.

I recently stumbled upon a unique idea for jewelery display, courtesy of the geniuses at Pottery Barn:

I took one look and decided that this was something I could more cheaply replicate.  So, I checked out Craigslist for some old cheap frames, and scored four for $25.  I picked two of them to use for this project:


I already had a roll of wire from another project, and was able to purchase hooks at Home Depot for about $2.50.  I decided on silver metallic spray paint (which I already had as well):


So, after a little sanding and a few coats of spray paint (I purposely only roughly sanded the frames, as I wanted a "distressed" look), I had my own framed jewelery organizers:

I was pretty happy with how they turned out - and my grand total was only about $7 per frame (excluding the jewelery, of course :-)


And off we go....

So - I'm really doing it. After toying with the idea for close to a month now, I've finally decided to start a blog.  After doing everything to talk myself out of it (telling myself I have 1) no time, 2) dislike writing, 3) nothing new to offer), I have thrown caution to the wind and jumped in to this world that is the blogosphere.

Perhaps a little background first would be helpful to those of you wondering what brought me to this point.  You see, there was a time in my life where I would have scoffed at the idea of publicly voicing my thoughts and opinions, not because I didn't think that doing  so was therapeutic or valuable, but because my life basically centered around work.  My husband and I were married in July of 2006.


At the time, both of us worked 50-60 hour a week jobs in downtown DC.  The pay was great, and we were "living large" in Capitol Hill. Then one day, about three years in to our time on the Hill, we decided that maybe downtown DC wasn't the best place to raise a family.  we began to crave things like yards to mow, houses which didn't come equipped with alarm systems, and DRIVEWAYS!  So we put our house on the market in the spring of 2008, and began the search for our perfect suburban home.

We found it in September of 2008, just 3 days after going under contract with the sale of our old home.  From the moment we laid eyes on it in Falls Church, VA, we were in love:


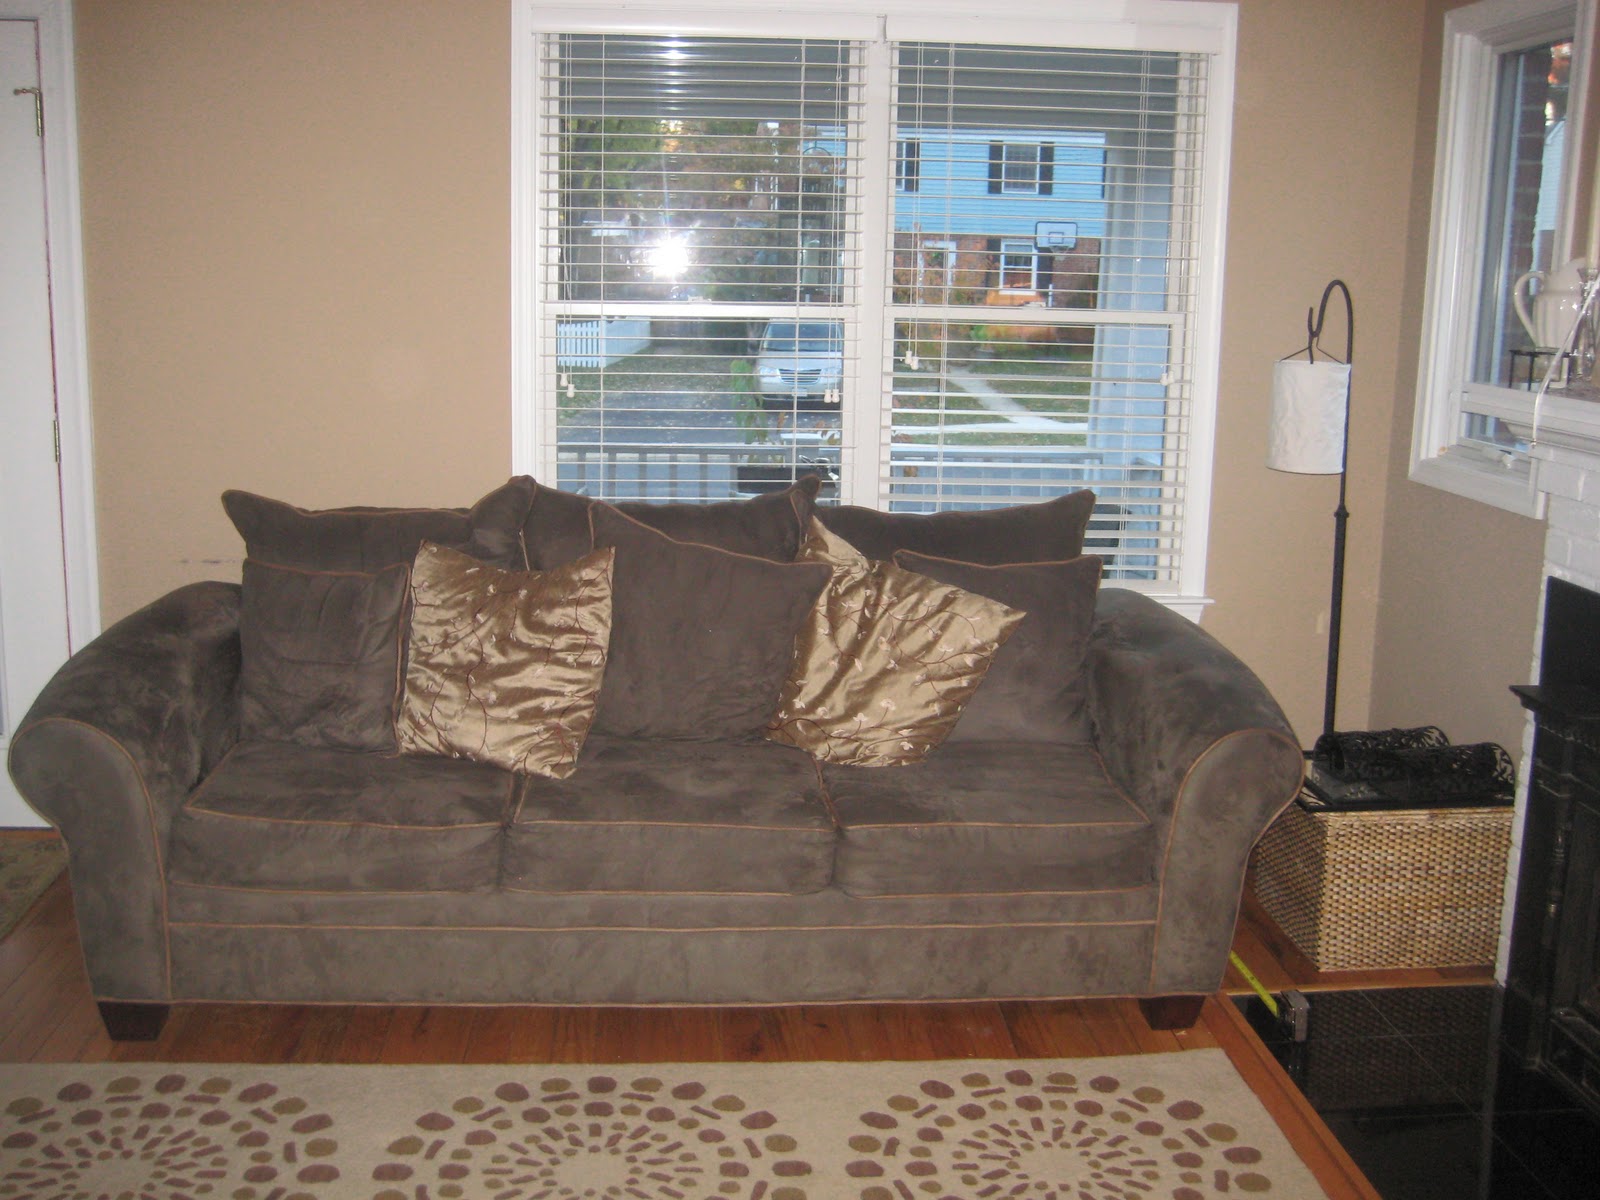
It had 3 full bathrooms (twice what we had in DC), 4 bedrooms (again, twice what we had), a formal dining room, large kitchen, and decent sized family room.  The yard was a good size by northern VA standards (about a quarter acre), and just LOOK at the front porch!

Needless to say, we were over the moon and excited to start our suburban adventure. We moved in mid-October, and I have been in decorating and furnishing heaven ever since! 

Our first child - a little girl named Heidi - was born almost exactly a year to the day we moved in to our house:

With the arrival of Heidi, we began to re-evaluate what was important to us, and decided that it would be best for our family if I took a break from the corporate world while Heidi (and hopefully other little Bohannons!) is young.  Also contributing to the decision was the fact that my father was diagnosed with brain cancer in January of 2010.  He began a blog here, but hasn't been able to post diligently, as the surgery to remove his brain tumor left him partially paralyzed on his left side, with corresponding vision loss.   So, I resigned from my job in May of 2010, and since then have been working part-time for a neighbor as a financial administrator for her clinical research firm.  It allows me the flexibility I need to be a good mom and wife, but also allows me to contribute financially, which is an (unfortunate) necessity living where we live.

The past year, with all of the changes that have gone on in my life, has really forced me to ponder the big question of - what is my PASSION?  I can say conclusively that I am passionate about being a wife and a mother, but unfortunately neither of those two roles is very lucrative.  Which brings me to the purpose of this blog - I am PASSIONATE about organization, design, and incorporating both in my home (and the homes of others, if they'll let me!).  I hope to share my various projects and ideas here on this blog, in the hopes that it will inspire you as well, and also in the hopes that it could lead into a lucrative endeavor for me.  But if it doesn't accomplish the latter, I still have a creative outlet for a wonderful hobby!

So, happy reading, and I hope that you find what you're looking for here!